
How to Trim Your Dog's Nails at Home Without a Fight
Check whether home trimming is workable, practise comfortable handling and follow a demonstrated cut. Includes tool comparisons, stop criteria and a partial-session example.
In short
Check whether home trimming is workable, practise comfortable handling and follow a demonstrated cut. Includes tool comparisons, stop criteria and a partial-session example.
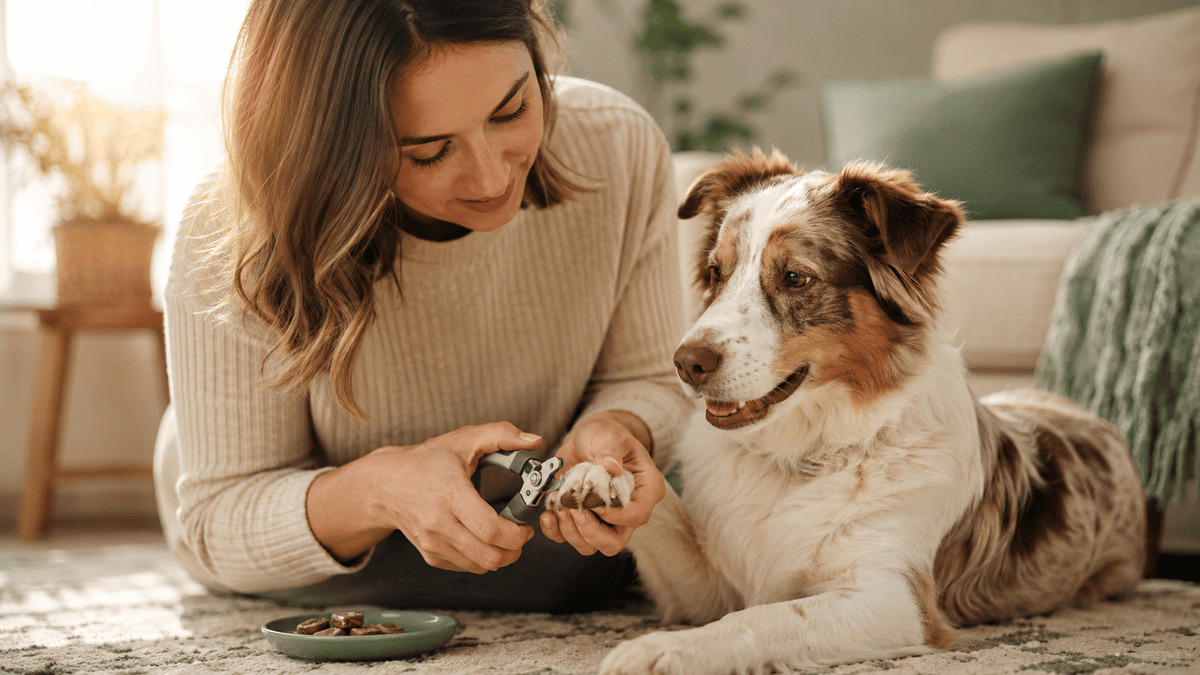
Dog nail trimming at home is a handling task and a tool task. Your dog needs to be comfortable having a paw supported, and you need to know where a safe cut can be made.
Ask a vet nurse, vet or experienced groomer to demonstrate on your dog if you are unsure. If the nails are painful, injured or severely overgrown, start with professional assessment rather than a home attempt.
Dog nail trimming at home: decide whether to proceed
- Dog: relaxed enough to have a paw handled without struggle.
- Nail: no injury, swelling, embedded claw or unexplained pain.
- View: enough light and a stable position to see the nail.
- Tool: dog nail equipment that fits the nail and works correctly.
- Knowledge: a demonstrated cutting approach and confidence about the stopping point.
- Exit: permission to end after a small success instead of completing every paw.
If any of these is missing, choose preparation or help. A dog pulling away is information about the task; holding harder can turn manageable uncertainty into fear or injury.
Understand the quick and the limits of visual checks
The quick contains blood vessels and nerves inside the claw. It is often visible as a pink area in light nails, and cutting it is painful and causes bleeding. Keep the cut away from it using the approach demonstrated for that nail.
Dark nails can hide the quick. Ask for a demonstration rather than treating a colour mark on the cut surface as a guaranteed safe boundary. Nail shapes and visibility vary, and a diagram cannot identify the safe amount for every dog.
Overgrown nails may need a staged professional plan. Do not try to remove all excess length in one session. Include dewclaws in checks because they may not wear in the same way as claws contacting the ground.
Choose and inspect the tool
| Tool | What to check | Practice needed |
|---|---|---|
| Dog nail clippers | Correct size, clean sharp blades and secure mechanism | Dog accepts the tool’s presence and the demonstrated positioning |
| Dog nail grinder | Manufacturer’s directions, working guard and safe control | Gradual acceptance of noise and vibration before nail contact |
| Professional service | Experience with this dog’s handling and nail condition | Share fear, pain or bite history before the appointment |
Do not use household scissors or human nail clippers for dog claws. A grinder also needs training and careful handling; it is not automatically safer for every dark nail or worried dog. Follow its manufacturer’s instructions and avoid improvised use.
- Prepare good lighting and a non-slip surface.
- Have rewards from the dog’s feeding plan available.
- Keep the practice’s contact number reachable.
- Ask in advance how to handle accidental bleeding.
- Avoid a setup that bends the paw uncomfortably.
Build comfortable paw handling in small steps
| Practice step | Try | Move on when |
|---|---|---|
| Approach | Let the dog remain comfortable beside you | The dog chooses to stay without pressure |
| Touch | Briefly touch a comfortable area of the leg and reward | The touch is accepted without tension or withdrawal |
| Paw support | Support the paw briefly in a comfortable position, then release | The dog remains relaxed and can disengage |
| Tool nearby | Show the tool at a manageable distance | The dog can notice it and remain comfortable |
| Demonstrated nail task | Use the small action shown by the professional | Both handler and dog remain able to continue safely |
Repeat an easy step without putting practice on a fixed day-count. If the dog stiffens, repeatedly withdraws, freezes or threatens, stop and seek help. Do not hide the tool and surprise the dog with a cut.
For a dog with handling difficulty, ask about a cooperative-care plan. Pain should be assessed before assuming the problem is unwillingness.
Follow a demonstrated clipping sequence
- Choose a calm moment and the prepared stable position.
- Support one paw without twisting it or trapping the dog.
- Identify the nail and safe stopping point as demonstrated.
- Remove only the small amount you can judge confidently.
- Reward, release the paw and check the dog’s response.
- Continue only if comfortable and certain; otherwise finish.
Do not make “all nails finished” the condition for releasing the dog. A partial session can be followed by another manageable session or a professional visit.
If you cut the quick, stop trimming. Apply gentle pressure with clean gauze and contact the practice for advice, particularly if bleeding continues, the nail is damaged or the dog is painful. Do not add a home remedy or wait for an arbitrary number of minutes before asking for help.
A comfortable pause is better than forcing completion
In an illustrative example, Felix is preparing to trim dog Poppy’s nails after a nurse demonstration. Poppy accepts a brief paw hold but pulls away when the clippers approach. Felix stops at the easier step and rewards calm handling.
Felix checks with the practice about how soon professional trimming is needed and arranges help for the current nail condition. At home, he continues the agreed handling practice without attempting a cut while Poppy is struggling.
Nail-care note: tool shown by [professional]. Paw handling [comfortable step]. Nails completed [which, if any]. Nails remaining [which]. Concern [pain, damage or handling]. Next action [practice or appointment].
Keep this note short. It helps the next session begin at a comfortable step and stops a partial trim being mistaken for a complete one.
Check nails as part of ongoing care
Look at nail condition during regular comfortable grooming. Growth and wear vary with the dog and surfaces used, so ask for a trimming plan rather than relying only on clicking sounds or a universal schedule.
- Check for cracks, catching, changes in walking or discomfort.
- Look at dewclaws as well as ground-contact claws.
- Review the fit and function of the tool before each use.
- Seek help when a nail is growing towards skin or handling becomes painful.
- Keep the agreed professional visit or home-care plan visible.
For wider coat-care tasks, see a beginner grooming kit guide. Choose tools for the task rather than assuming one grooming set suits every dog.
Frequently Asked Questions
How should I trim completely dark nails?
Ask a professional to demonstrate on your dog. If you cannot judge the safe cut confidently, use professional help rather than guessing from a diagram.
Is a grinder always easier?
No. Noise, vibration and handling can make it difficult. Choose the method the dog can accept and that you can use correctly.
Do I have to finish all four paws?
No. Stop before the dog or handler becomes uncomfortable. Record what remains and arrange the next manageable step.
What if the nail is curling into the paw?
Contact the vet for assessment and care. An embedded, painful or badly overgrown claw should not be handled as a routine home trim.
Resources & Links
These sources help check tools, handling and nail care before attempting a home trim.
- PDSA: Clipping Your Dog’s Nails — Check the quick, dog-specific tools and the need for help when a cut is unclear.
- PDSA: Grooming Pets — Fit nail checks into the dog’s wider comfortable grooming routine.
- Blue Cross: Grooming Your Dog — Build manageable handling and identify nail-care questions to raise with a professional.
Use the Daily Dog Care Tracker for grooming notes, or keep wider care information in the Complete Dog Owner Binder. Get the Daily Dog Care Tracker → Get the Complete Dog Owner Binder →
Printable and fillable PDF templates for pet owners — feeding schedules, health records, training trackers and more.